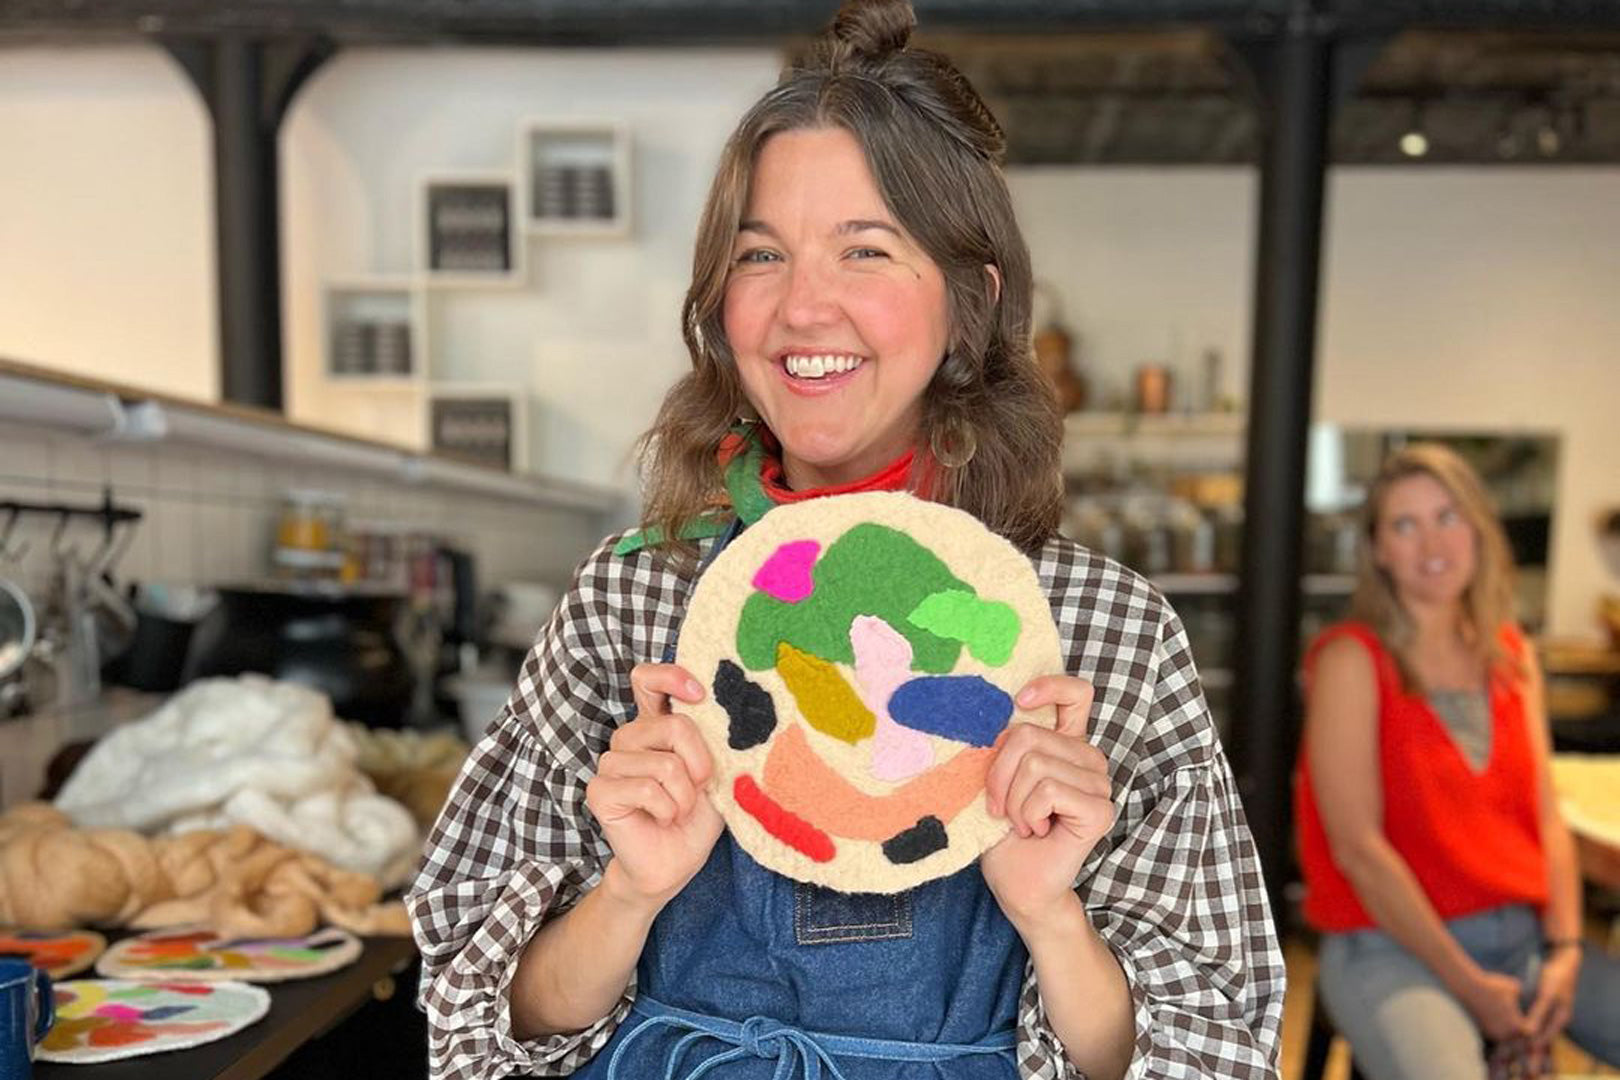


What is Wet Felting used for?
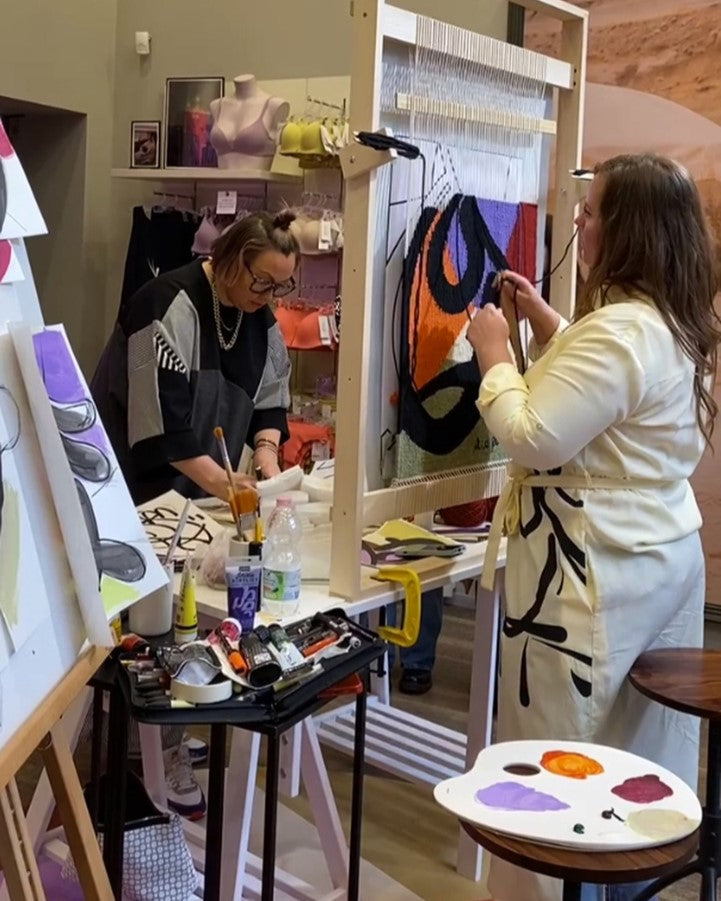
Wet-felting is one of the oldest ways humans have made fabric. I have been experimenting with ways to use scraps of knitting and thrifted yarns to felt, and have been thrilled with the results. I am excited to share this process with you, and hope that it will spark your imagination and empower you to try it for yourself.

What do you need for Wet Felting?
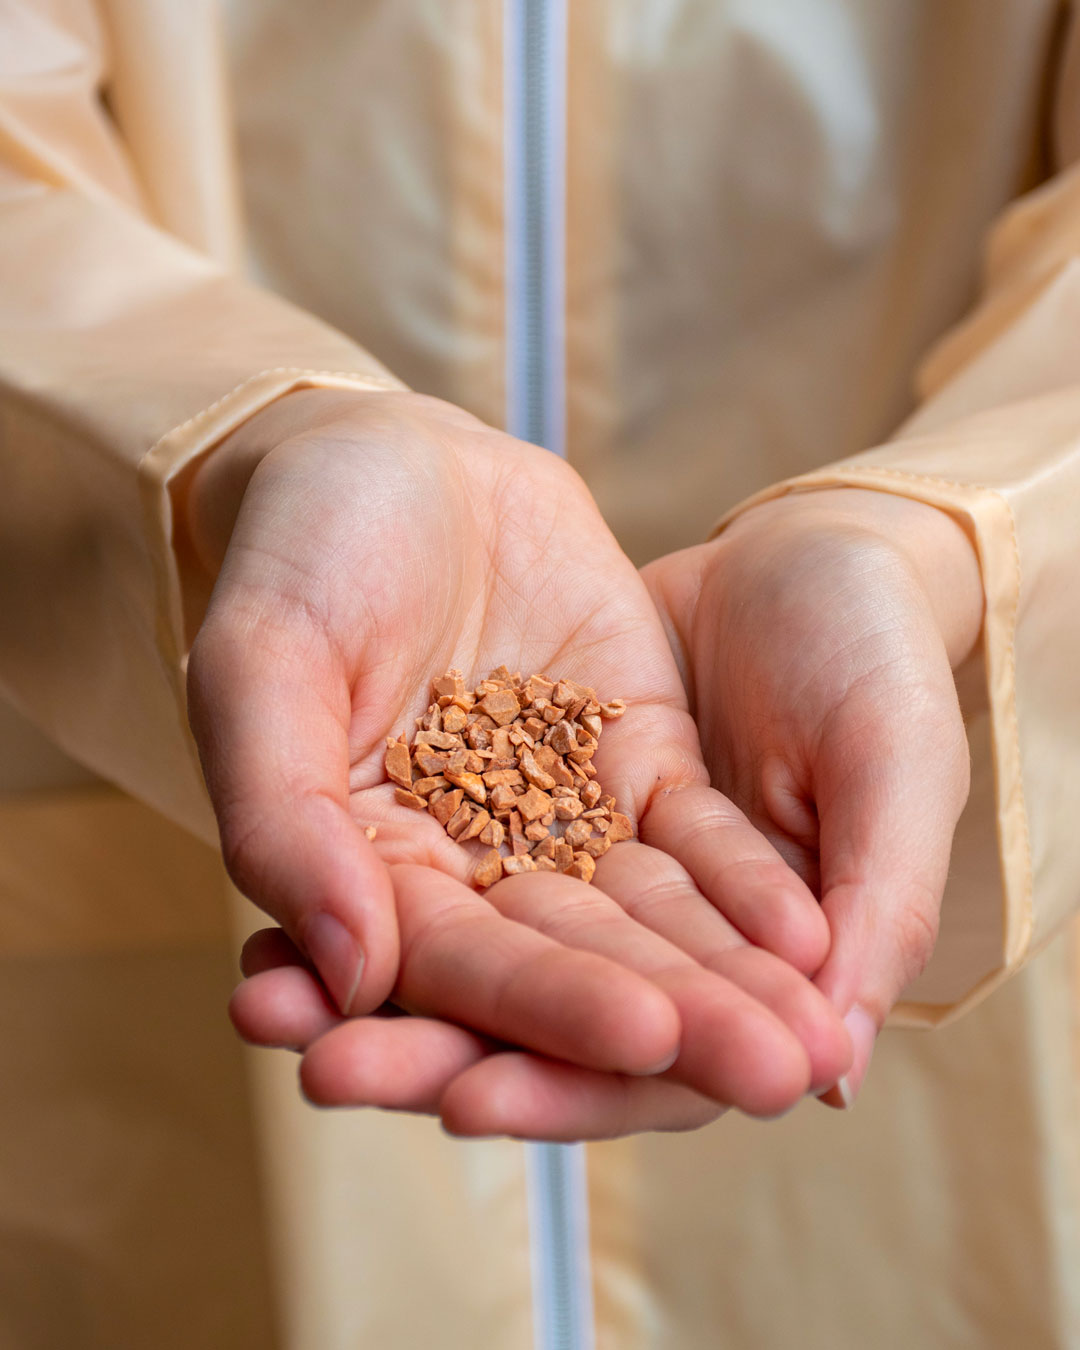
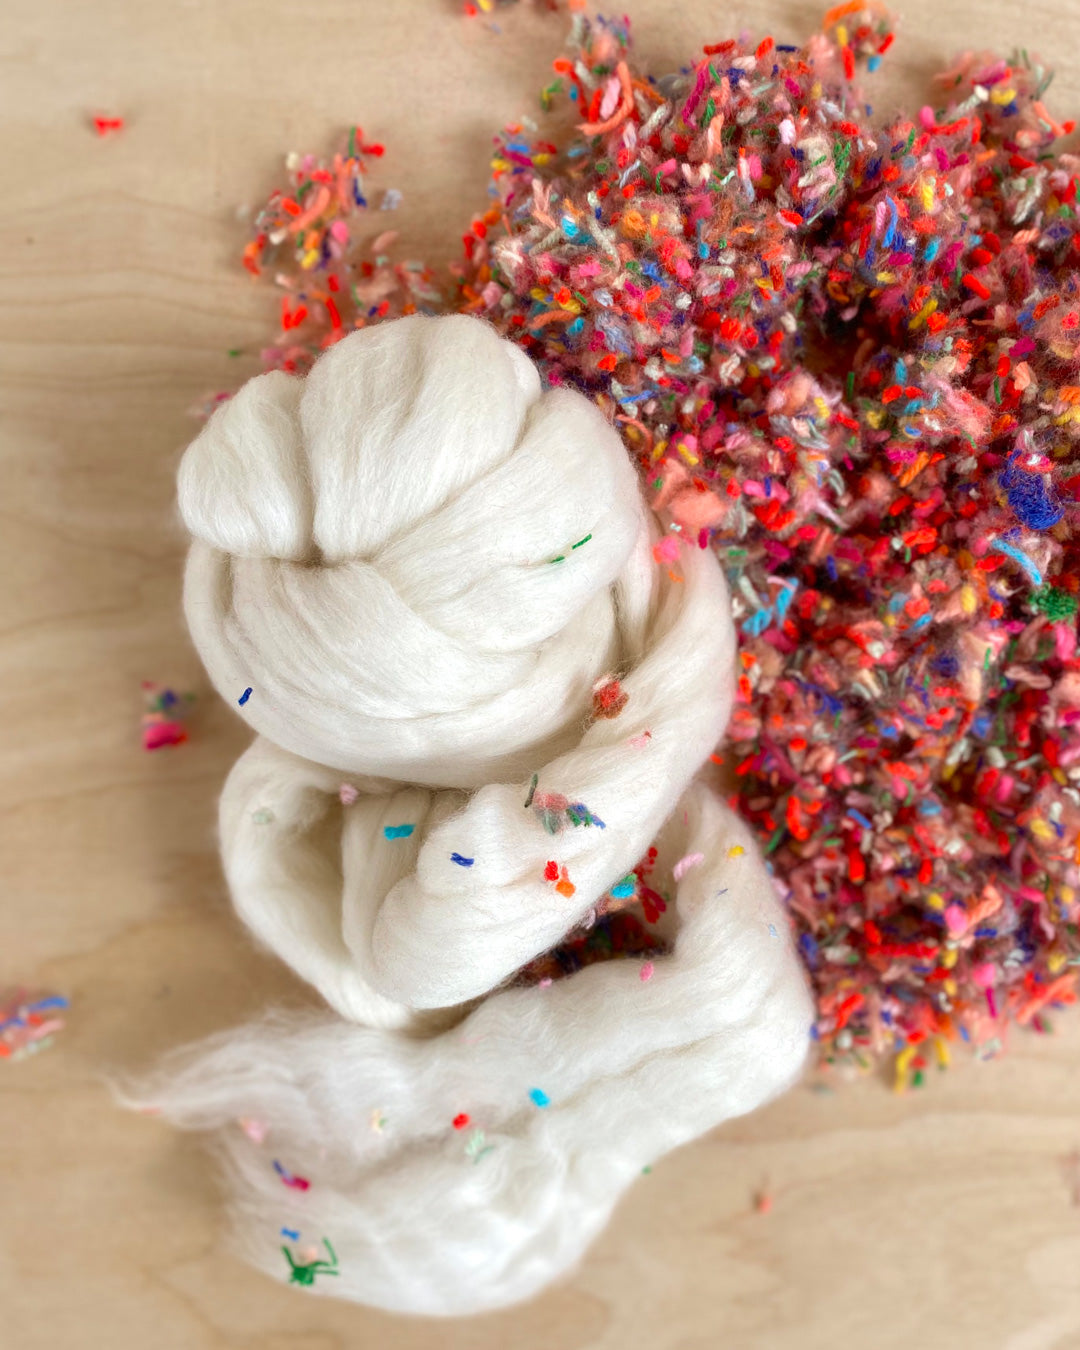
I work mainly with Merino Wool Tops, which are very soft and fluffy and felt relatively quickly. I recommend using a soft wool like Merino for this process, as it really lets the yarn scraps show through. You can use any type of yarn scraps when you’re felting them into the wool. They will be sandwiched between the layers of roving so they don’t need to be 100% wool.
Wool fibres have scales on the outside that open up when you add water, and by rubbing and rolling the wool, you will cause these scales to mesh with each other and become one cohesive piece. It feels a bit like magic.
 |
 |
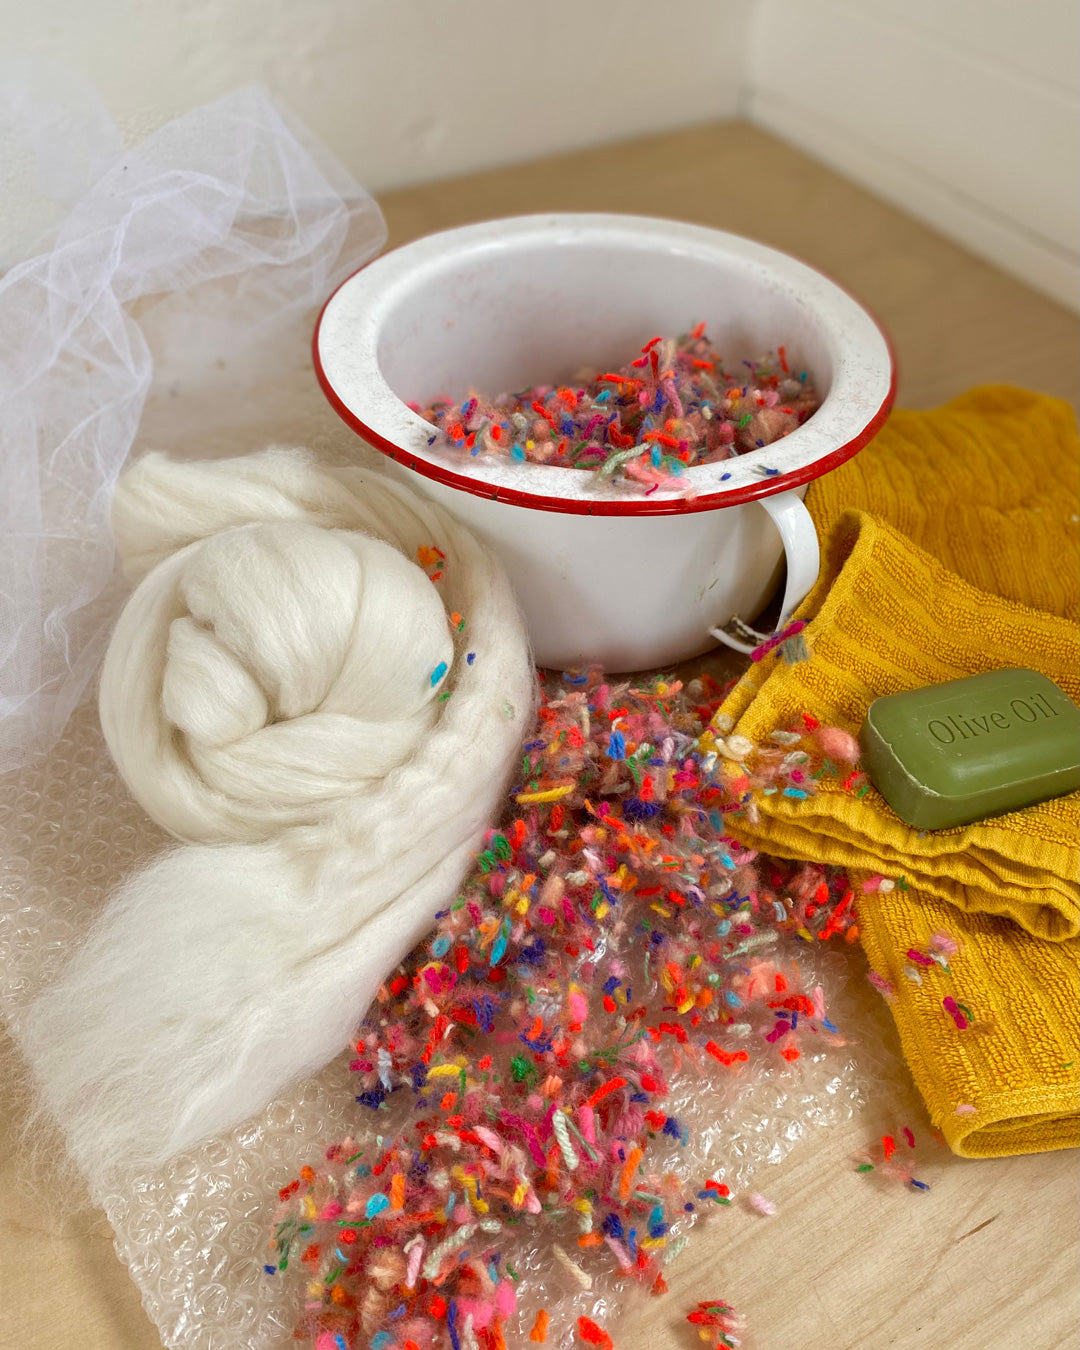
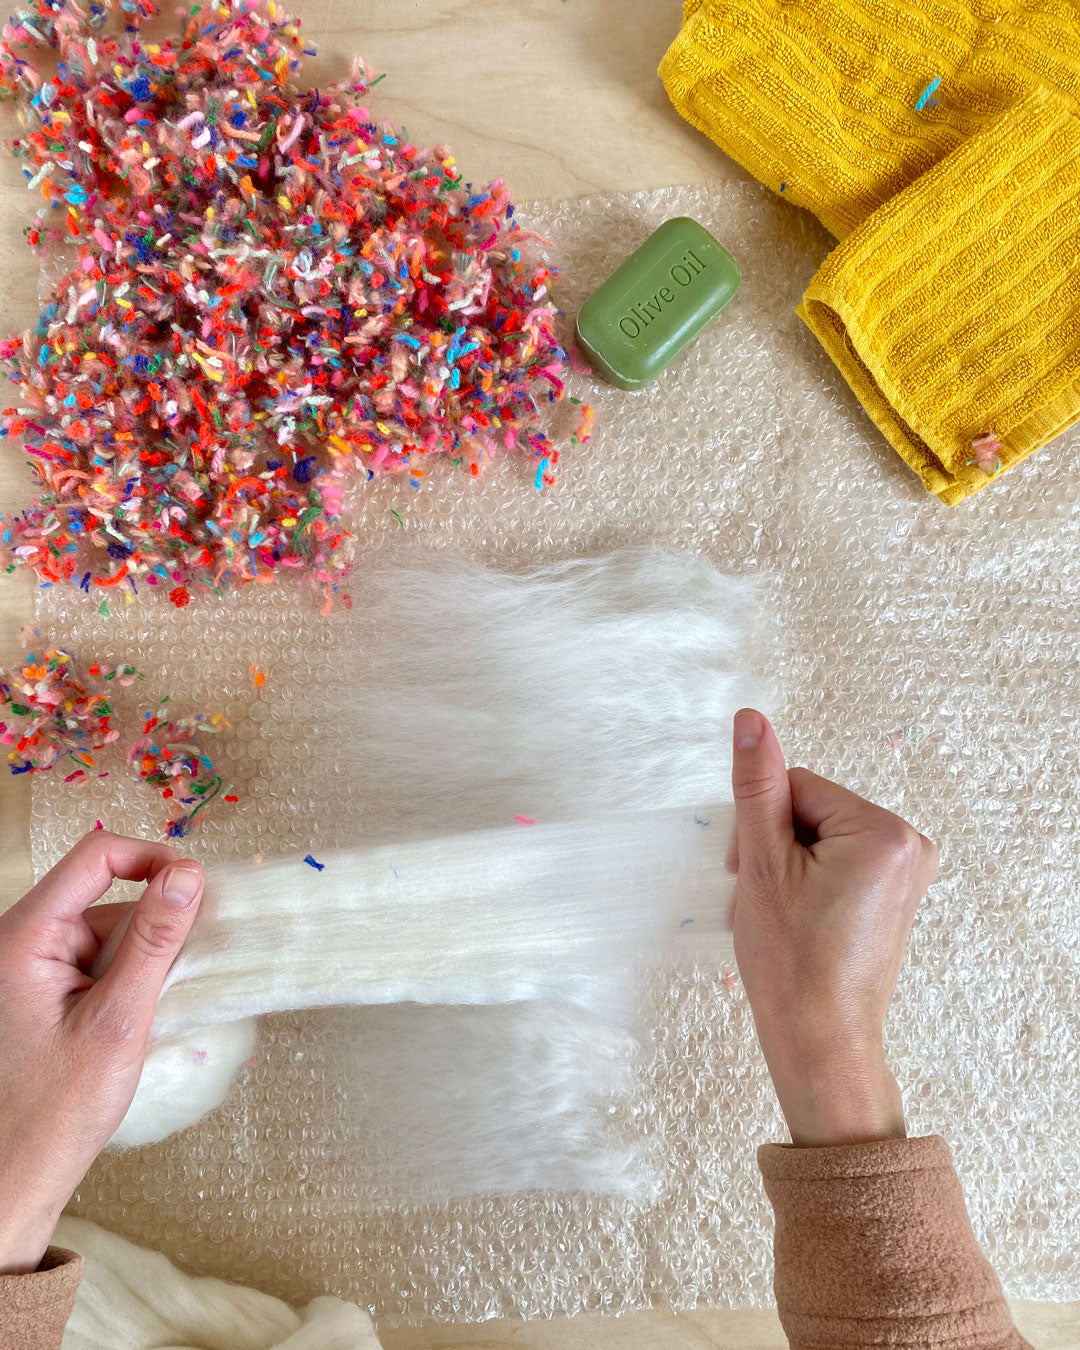
Supplies
Merino Wool 19 micron in Natural: 25 grams
Yarn Scraps
Bubble Wrap
Face Cloth
Hand Towel
Olive Oil Soap (any soap will work)
Crinoline
Bowl
Step-by-Step Guide to Wet Felting: How to Start Your Project
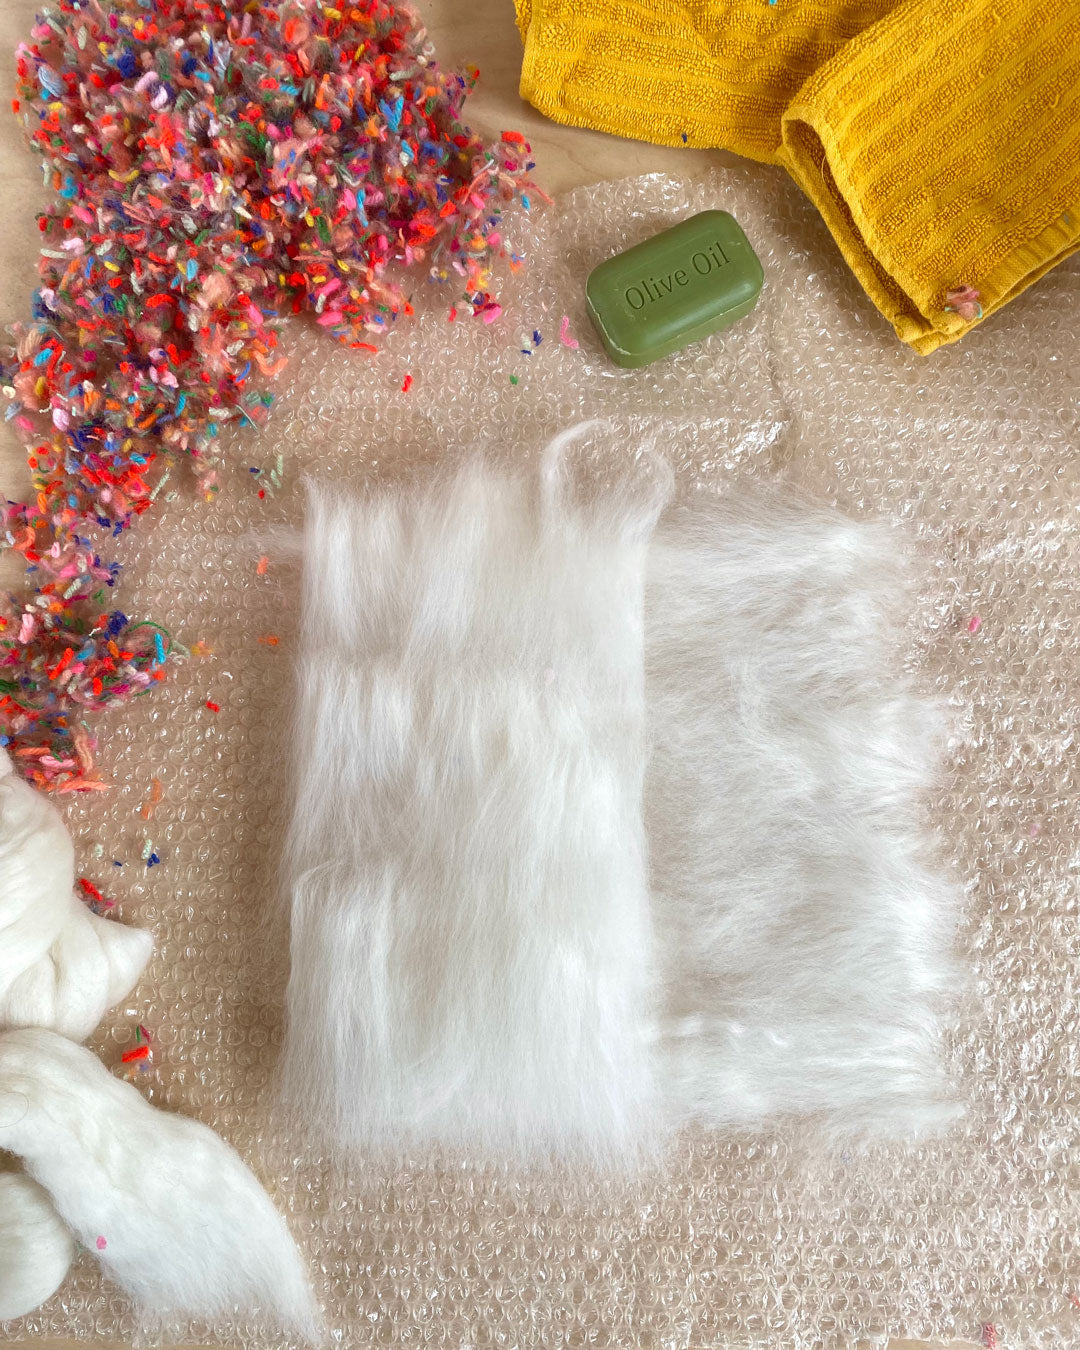
To start, lay out a piece of bubble wrap that will best fit your project. Wool shrinks about 20-30%, so know that you will need to start your piece bigger than your desired result. I am laying out a piece that is about 12x12”. When you are laying out the wool, envision it as a fluffy cloud with light puffy layers of wool. Keep your layers light so that the yarn can be seen and your piece will felt evenly.
For this piece, I laid out two light layers of wool before adding the scraps. Lay each layer perpendicular to the previous layer of wool. This will keep things even and will give the wooly scales on the fibres lots to grab onto, which strengthens the felt.
 |
 |
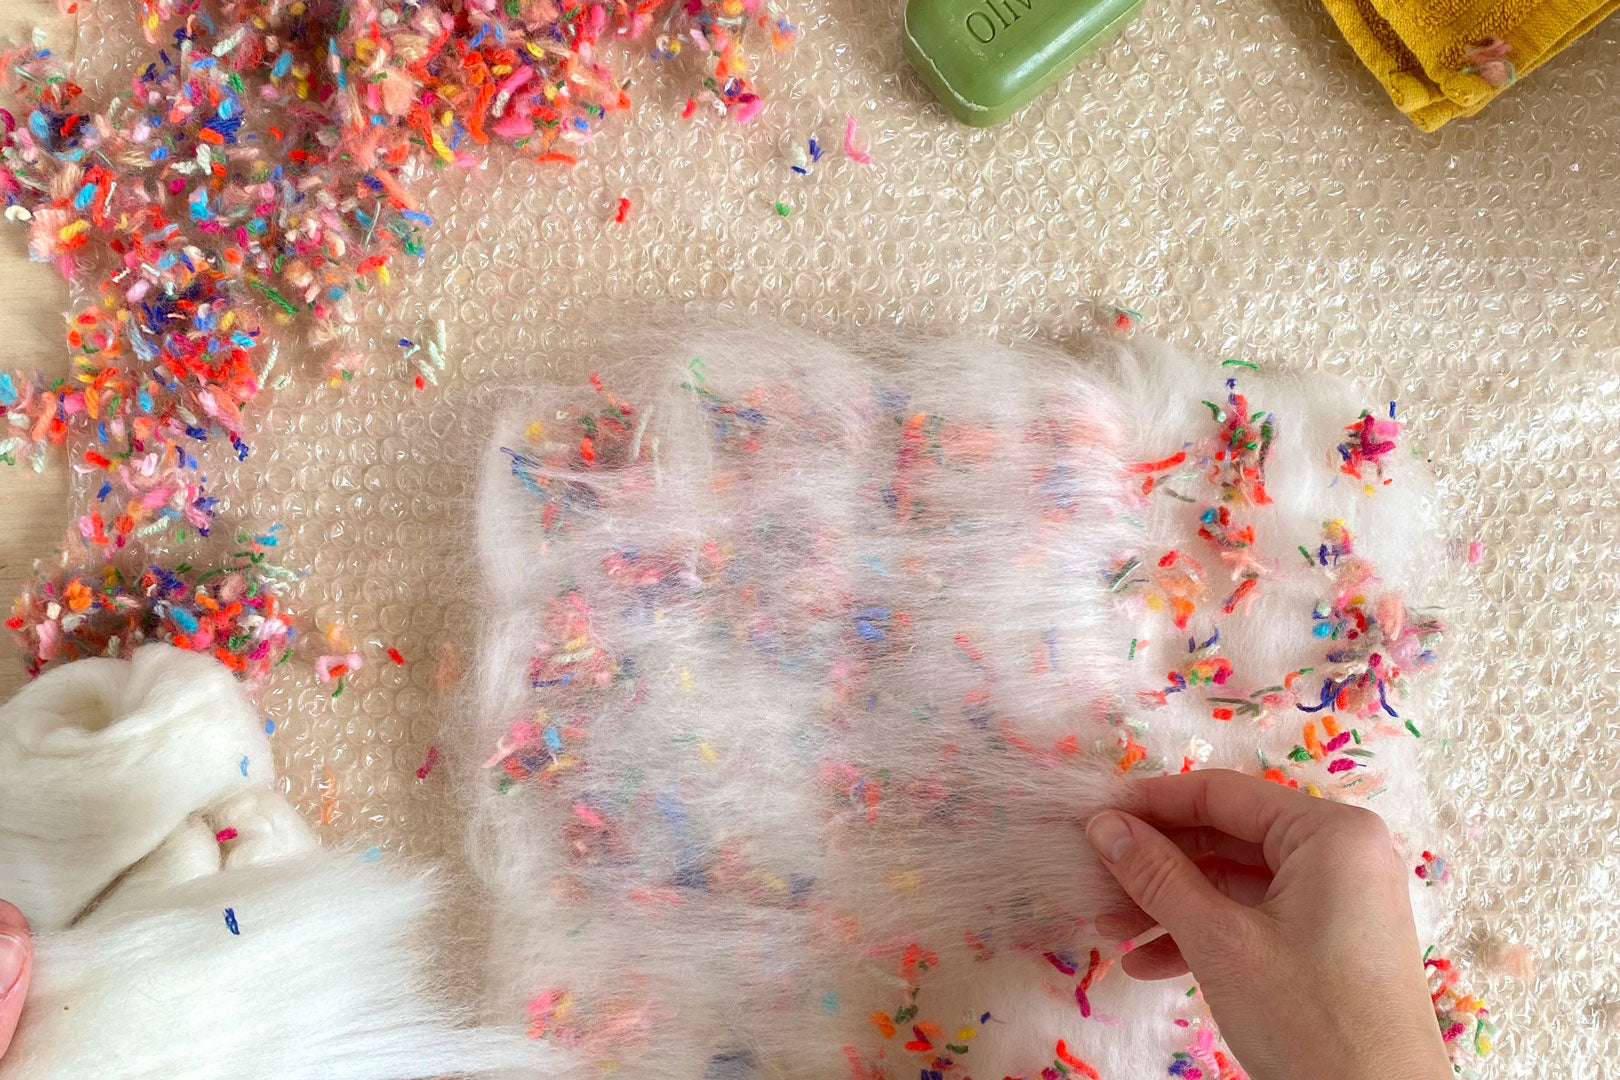
The sprinkle
Once you have your layers, sprinkle the yarn scraps over the wool. A light layer will be easier to felt, but feel free to play around. This is the fun part! To finish, lay a very fine layer of wool on top of the yarn scraps. This is the thinnest layer. The thinner you make it, the more yarn scraps will show through. Just make sure to get a small amount of wool over each scrap of yarn so that they will stay down.
The rub
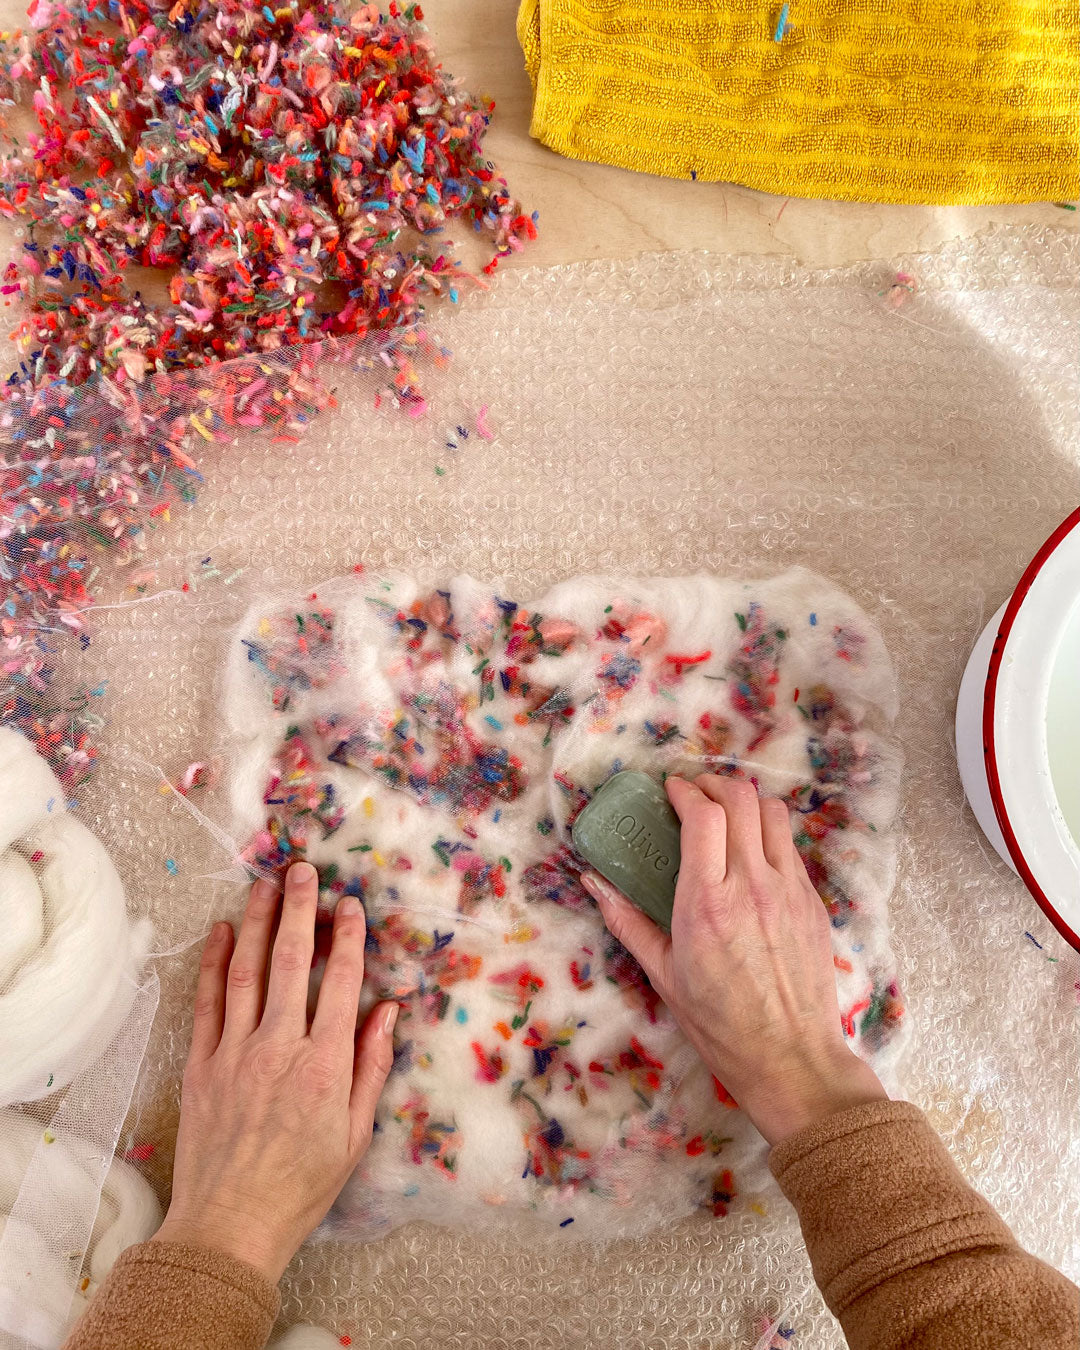
Now, put the crinoline over top of your piece and go fill a bowl with warm water. Pop your bar of soap into the warm water and rub it between your palms to get the water nice and bubbly.
You will then take your washcloth, dunk it in your bowl, and sprinkle the soapy water all over your piece. Once you’ve sprinkled it with water a couple of times, you can start to press down on your piece to spread the water around. You don’t want to drown it in water. Use just enough so that you saturate the whole piece evenly. Now run that bar of soap over your piece a couple of times to get it nice and soapy. The soap helps the fibres to slip into one another smoothly.
 |
 |
The roll
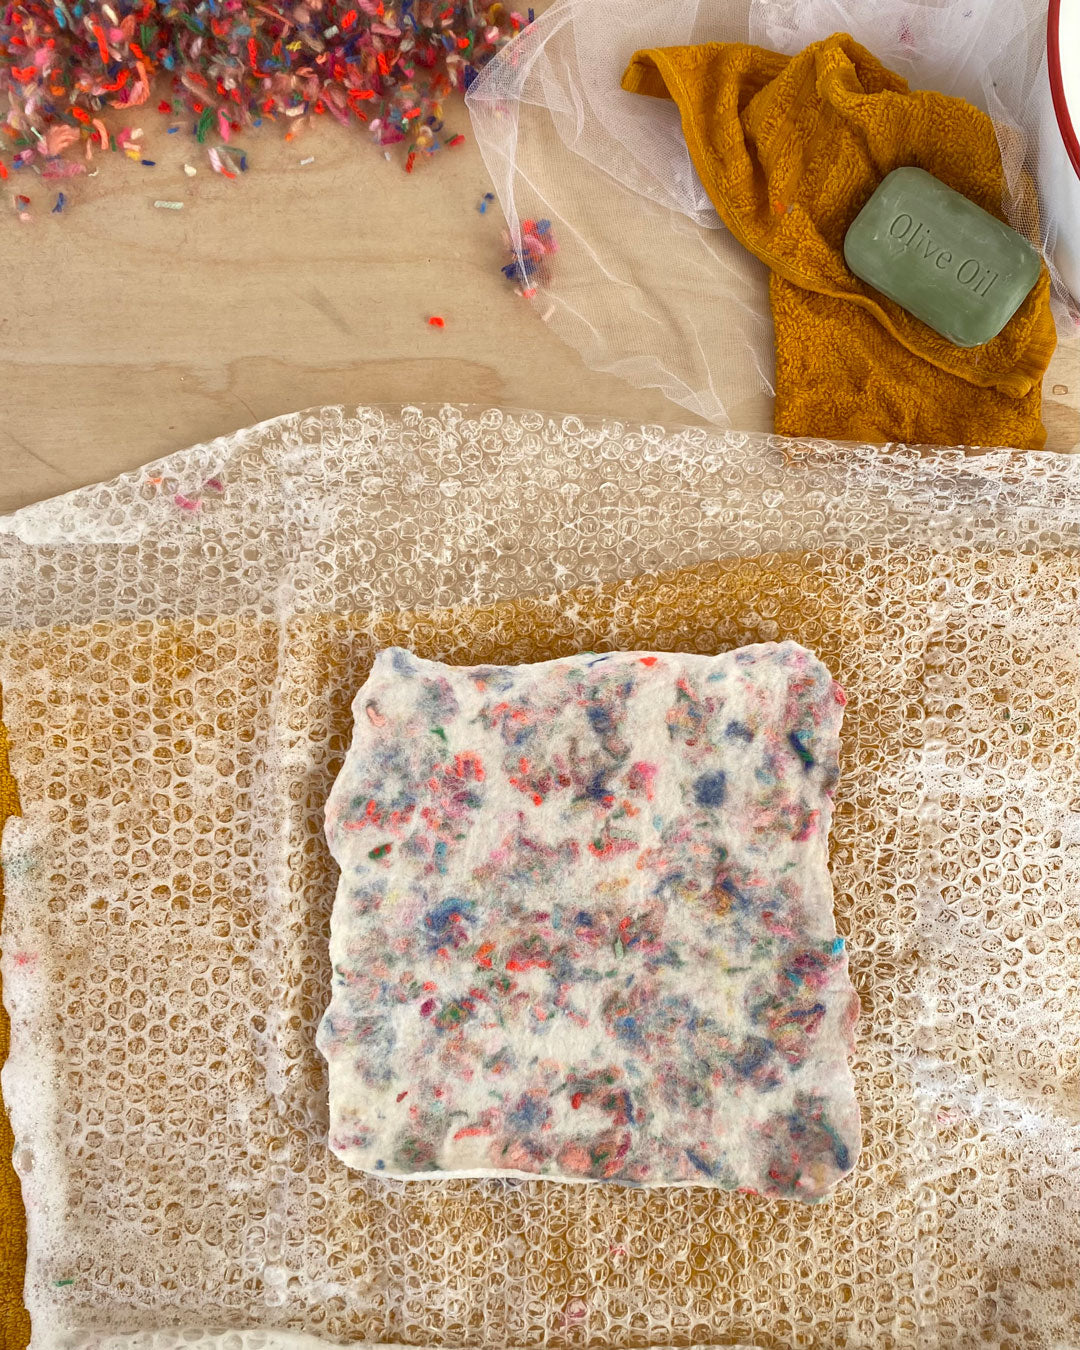
After you’ve given your piece a good rub, post-lathering, you can gently remove the crinoline. Now comes the rolling. Roll your piece tightly in the bubble wrap and then in the hand towel, to give you some grip while you roll. Gently roll your piece back and forth about a dozen times. Now unroll it, and roll it in the opposite direction. Continue to roll and unroll, switching directions each time to shrink your piece evenly. Wool will shrink in the direction that you roll it. After you’ve rolled your work a number of times in both directions and you notice it has shrunk a bunch, give your piece the ol’ pinch test. Pinch a bit of your piece and pull up. If the fibres come up, like a small fibre tent, you have some more felting to do. If not, you’re ready to give it a smack.

The smack
The last part of the process is called fulling, and it’s quite cathartic. Wind up and smack that soapy wool right on the table. Now do it again, and again, and really just keep doing it because it’s fun. You’ll notice that the wool will start to get a boiled wool texture and shrink up even more.
When you’re tired of smacking your piece around, rinse it in cold water and hang it or lay it flat to dry.
 |
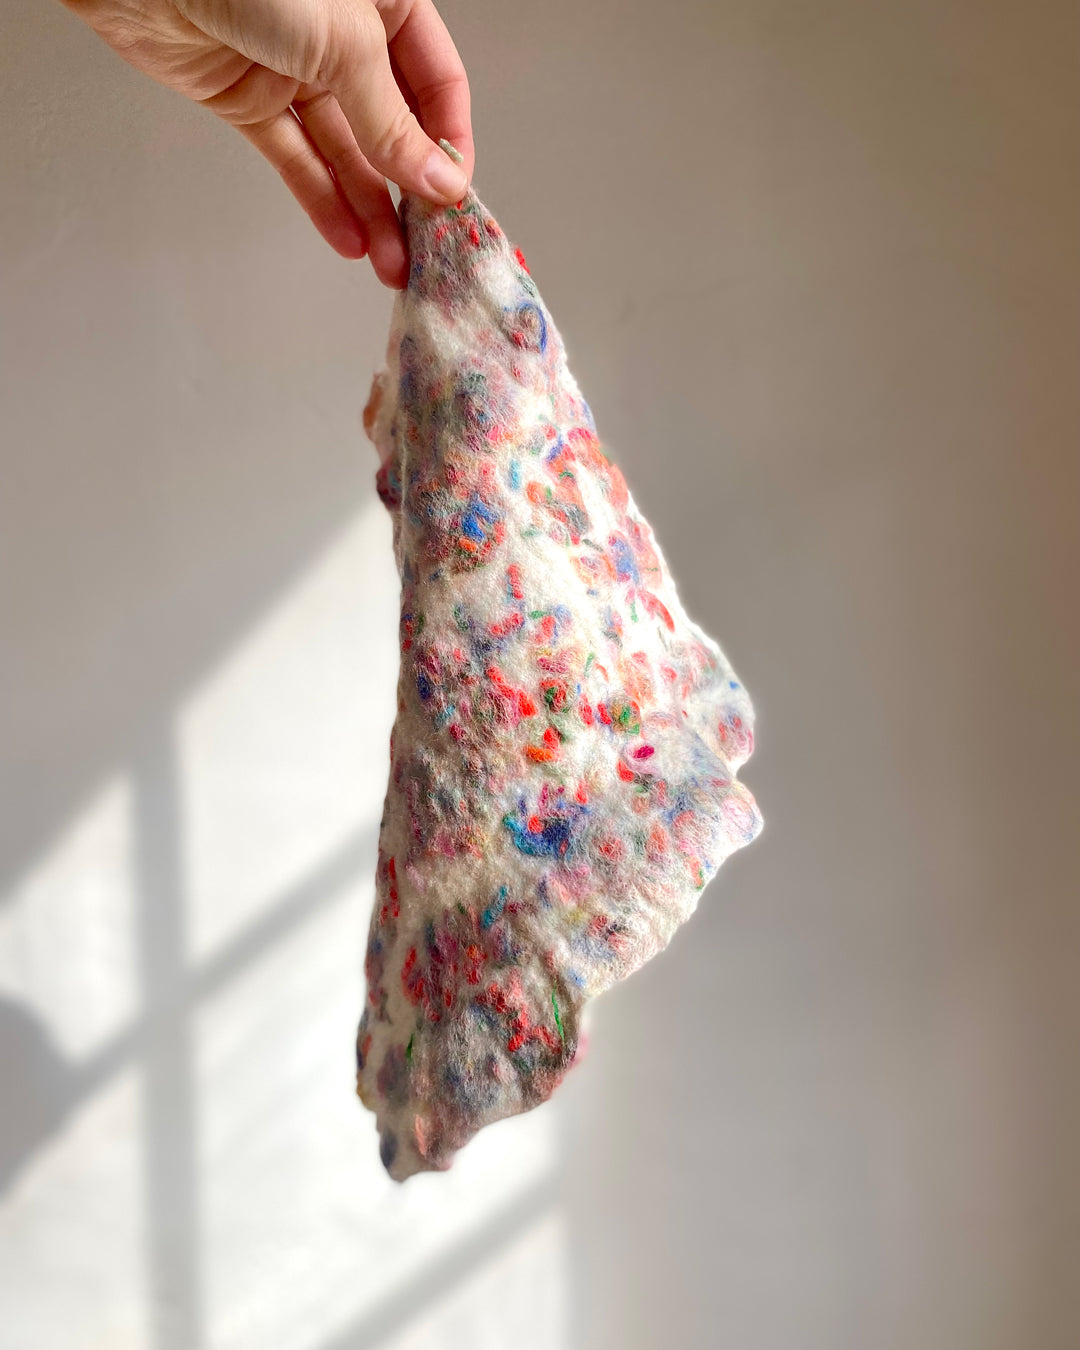 |
I’d love to see what you create using this process. Use the hashtag #feltedyarnscraps when you post so I can take a peek at what you make!
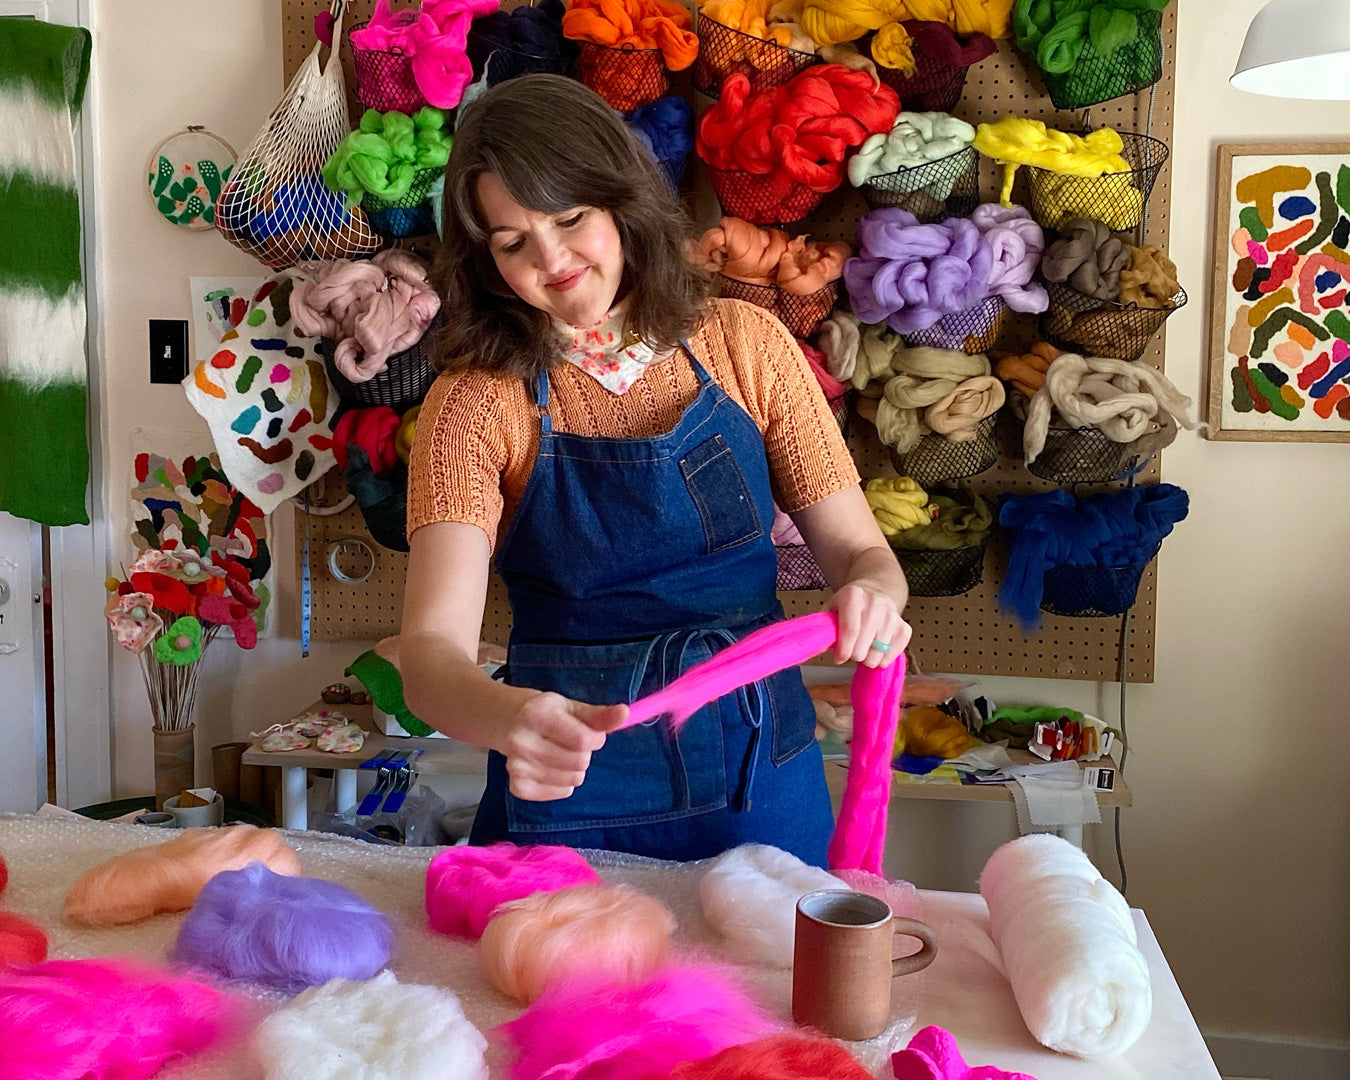
Christie Peters is a self-taught felter who has been working at her craft on and off for 15 years. She lives in Winnipeg, Manitoba, Canada, where it is wool season much of the time. She is currently working on putting together a felting kit with an instructional video, to spread the joy of felting wool far and wide. Follow her @margaretjanedesign to see what she’s got on the felting table.